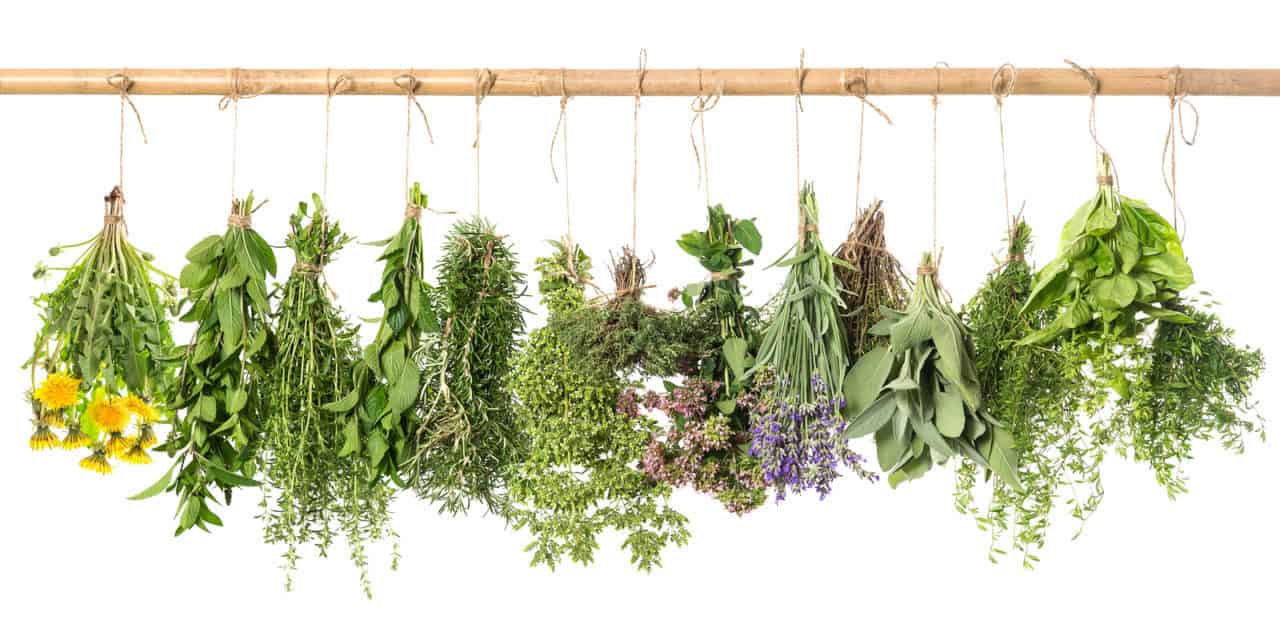
Following is a good variety of flavors and uses of recommended herbs for beginners:
Strong herbs: winter savory, rosemary, sage
Herbs strong enough for accent: sweet basil, dill, mint, sweet marjoram, tarragon, thyme
Herbs for blending: chives, parsley, summer savory, cilantro
As your interest and needs increase, you can add to the variety of herbs in your garden. Keep in mind that herbs can be annuals, biennials, or perennials when selecting herbs to grow for the first time.
Annuals (bloom one season and die) anise, basil, chervil, coriander, dill, summer savory
Biennials (live two seasons, blooming second season only) caraway, parsley
Perennials (bloom each season once established) chives, fennel, lovage, marjoram, mint, tarragon,
thyme, winter savory.
A few herbs, such as mints, need to be contained separately or they will overtake a garden.
Herbs can also be grown in containers, window boxes, or hanging baskets. These methods will require more care, especially watering.
INDOOR HERB GARDENING
Herbs can be grown indoors for year-round enjoyment. Growing herbs indoors is no more difficult than growing them in the garden.
Indoor plants will need essentially the same conditions as herbs grown outdoors — sunlight and a well-drained soil mix that is not too rich.
Select a south or west window. Different herbs have different light requirements, but most need a sunny location; in winter, “grow lamps” or fluorescent lamps are helpful in supplementing light.
When planting, mix two parts sterilized potting soil and one part coarse sand or perlite. To ensure sweetness of the soil, add a cut of ground limestone per bushel of soil — or 1 teaspoon of lime per 5-inch pot. There should be an inch of gravel at the bottom of each pot to ensure good drainage.
Consider the water needs of each herb. Growing plants need more water as do plants in clay pots or hanging baskets. Misting and grouping the plants on a tray of moistened pebbles will help keep them in a humid condition. Don’t drench herbs — avoid getting herb roots soggy.
Annual herbs can spend their full life cycle in a pot indoors. Perennial herbs, however, will do better if you place them outdoors during the summer. Plunge the pot in soil up to its rim, or keep it in a protected location on the porch or patio.
Herb plants need sun during the summer months, so place them accordingly. To prevent the loss of foliage and avoid plant damage, bring herbs indoors before frost. A light frost is helpful on mint, chives, and tarragon; it tends to induce a rest period and make the resulting new growth firm and fresh.
You can maintain an indoor herb garden indefinitely by periodic light feeding, yearly repotting, renewing annuals, seasonal moves outdoors for perennials, and occasional pruning. Water plants as needed. Use several planters or a divided one to allow for different moisture needs of plants.
Growing an herb garden will offer fresh flavors for the palate and other home remedies too. For example, thyme can be used in a compress to ease achy muscles in the neck, shoulders, and back that contribute to tension headaches, according to Dr. Oz. At Realage.com* You can also drink thyme tea. Several medical uses exist for herbs but should be researched with care.
Ask Your Doctor
Just like pharmaceutical drugs, herbs can cause side effects or interact with medications. So before starting on new regimens of herbs, check with your doctor, and ask about the appropriate dose.
*Realage.com 04/24/2009.
The Green Pharmacy. Duke, J. A., New York: Rodale Press, 1997.
MAKE THIS SOOTHING HERBAL WRAP
Cloth wine bag
1 ½ cups dry rice
1 1/4 cups fresh thyme (dried and crushed)
Start with a wine bag. Yes, choose a cloth bag made for gifting a bottle of wine. Select one of a thicker fabric, like tapestry or quilted fabric, with no metallic strands, choosing something that will not feel scratchy to the skin.
With a sewing machine, stitch lines about 1 ½ inches apart from the bottom of the bag to the open end, leaving the ends open.
Mix the rice and thyme thoroughly in a small pitcher. Pour the dry mixture in between each line of stitching, filling the bag loosely. Leave about 2” of the top of the bag empty. Then fold over the top of the wine bag ½” and sew the bag shut. Double stitch each end so it does not come apart. (Note: If you fill the bag too full, it will not wrap easily around the back of the neck or other areas in need of soothing.)
When the bag is finished, place in the microwave for one to three minutes. The first time, you will be able to determine how long to warm the bag by starting with one minute in the microwave, adding 30 second intervals until the desired warmth is achieved. Some microwave ovens cook hotter than others so this adjustment will help you find the perfect cooking time to make your new herbal wrap perfectly warm and soothing. It is good to place a towel between the skin and the wrap. As the wrap cools off, you can remove the towel for extra warmth to the skin.


